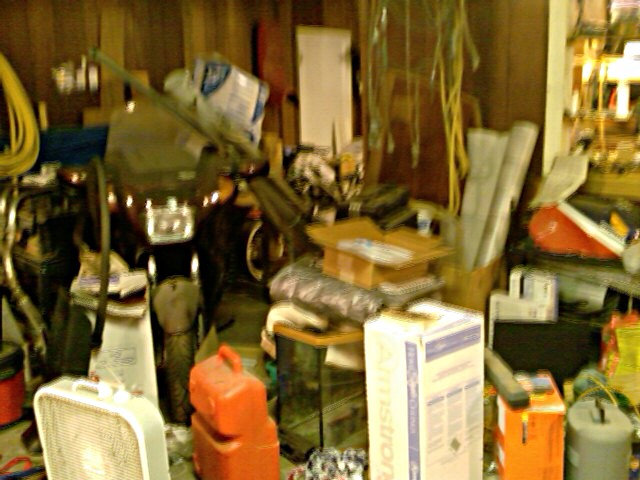
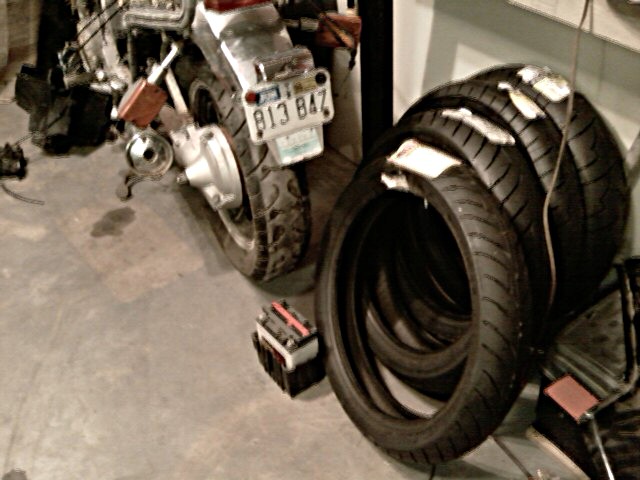
You can also see my narrow worktable in the back and the collapsible workbench by the garage door. And my handy-dandy dual-purpose bike ramp and sitting bench—it's a 10ft 2x12 standing on two square kitty litter buckets I use for storage.

The peg minus the rubber is loosely pinned so he could check for relative square to the right side. It may be angled a degree or two forward of where it was but, if it becomes a problem I can just shim the peg seat to correct it.
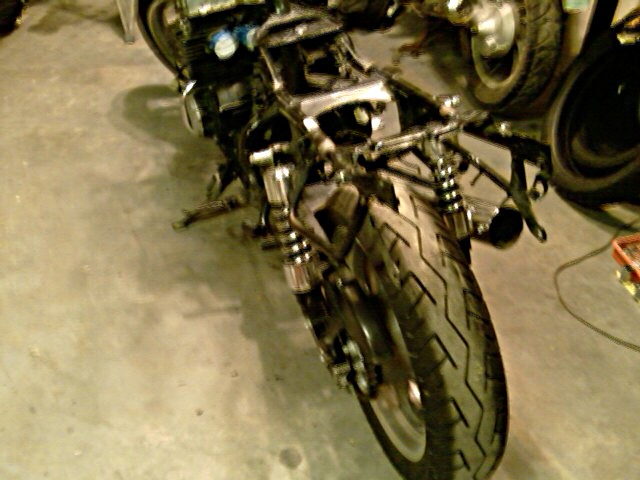
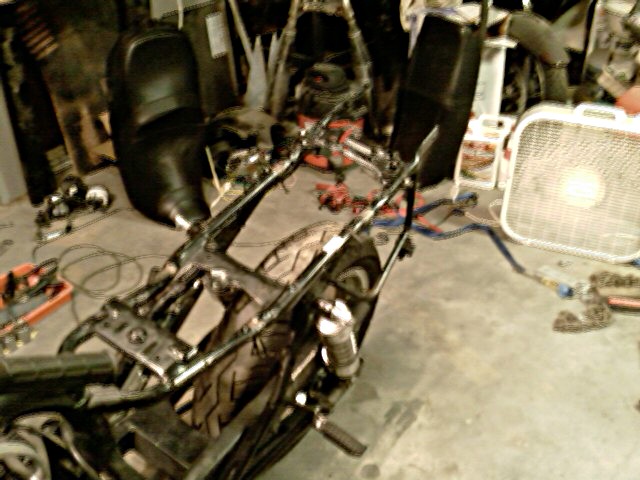
I'm gonna brace them up to how they sit on the bench there, approximating the on-engine/on-kickstand angles, and rig a temporary tank so I can check for leaks off bike.
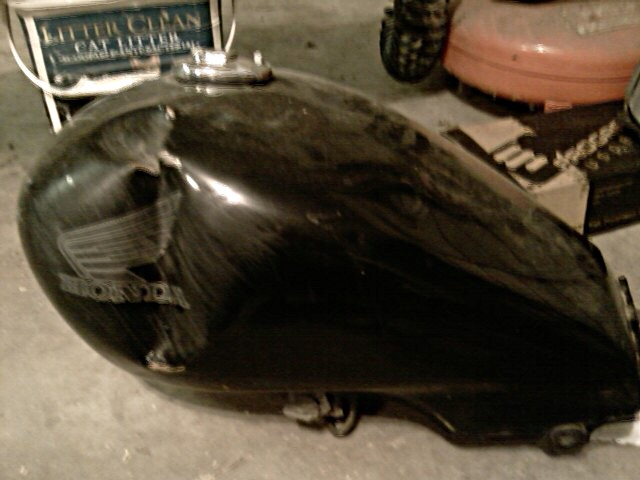
I love it that the previous owner held onto the original parts.

I would make a small adjustment and let it sit for an hour or two before releasing and moving to another point. Took me most of a weekend. I must have been easy enough. Nothing cracked before I started and nothing cracked when I finished.
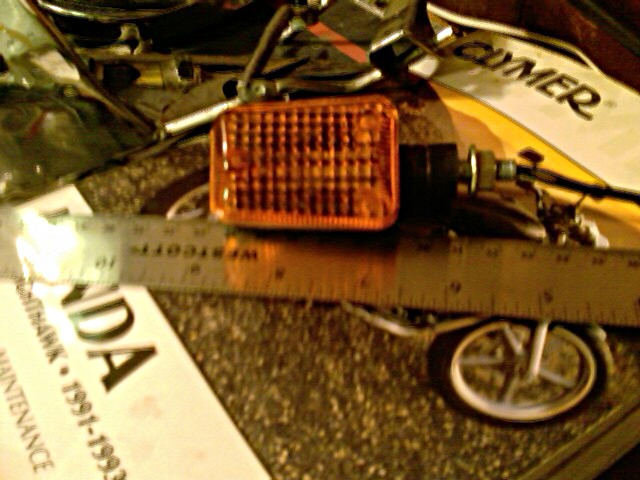
The taillight lens is broken but the rest is there. And you can see that one part of the stay is not connected to the rest of it. Me trying to straighten the mangle.
I'll probably use aftermarket headlight fork brackets and just skip this flimsy thing altogether. Only problem would be hunting down a horn mount point.
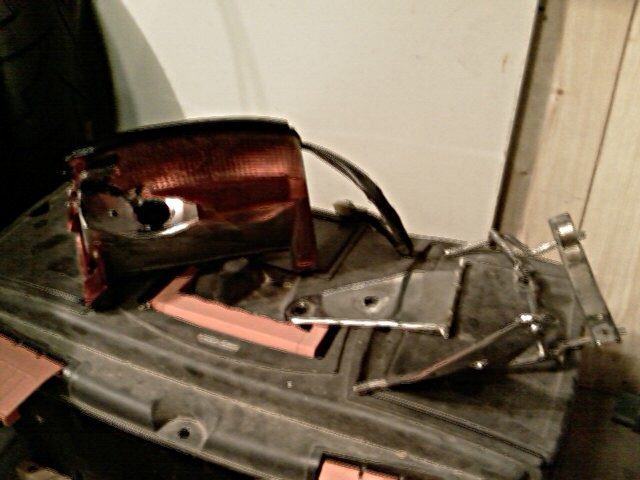
The thing is, this really isn't supposed to be apart like this. The joints are "glued" with plastic solvent and painted afterwards. It is removed, added, and (normally) sits as one piece. Since the taillight is part of this plastic, I do need this part. And I don't think I can fix it.
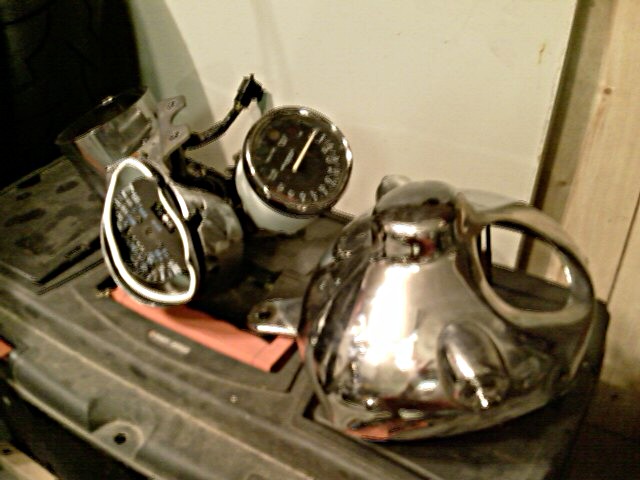
I'm looking at a universal speedo or even speedo/tach combo to replace the damaged speedo. $100 or so.
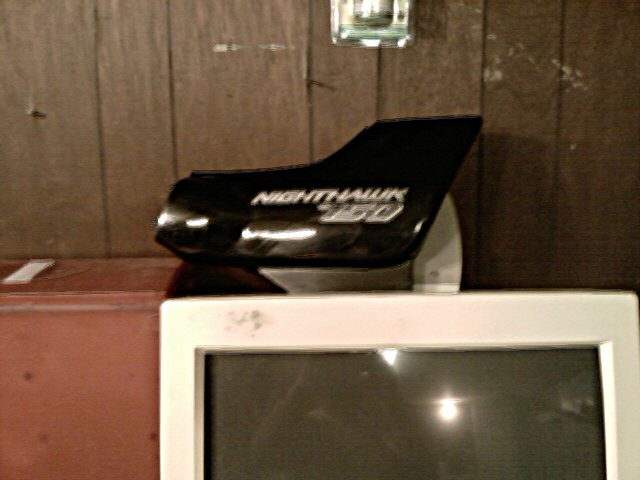
I found an 8" black plastic bucket with ring and an 8" H4 that I like. I could find one like the orignal 7" but I like the looks of the bikes I've seen with larger headlights. And the colored bucket fits my style more than a crome one.
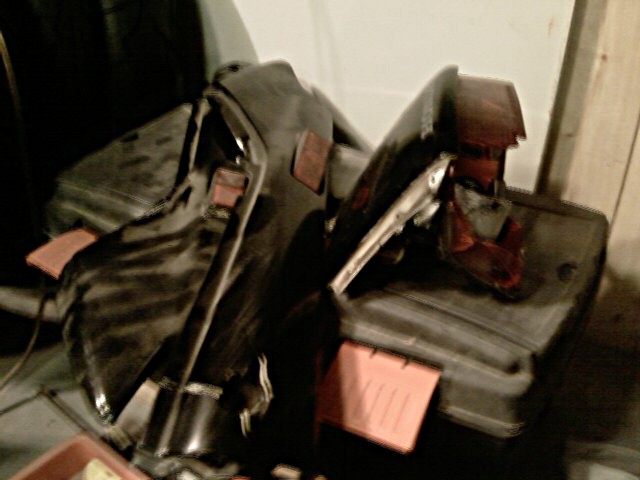
I haven't decided wheather I want a matching set of four or two different sizes for front and back. Back would be shorter.
Yeah.
The sad looking bike you see in this pic is my Virago 920 project bike moved to make room for Frankenhawk.
I had this on bid two days after moving her into the garage. There was a left side one too but someone else really wanted it bad.
Now let's play "Where's Waldo"!
A clear pic would be easier but where's the fun in that?
This pic looks back into the garage and shows that you can ignore a good bike and have too many projects.
The red bike is my 1994 Kawasaki Concours. Ran when I parked it two years ago and now buried under attic insulation and spinnaker poles. Got parked because the Connie "buzz" kills my hand quickly and I didn't have the time to do the throttle lock as I planned to get around it. When Frankenhawk is running, she gets pulled out, put together, and tuned up.
And about center you can barely see part of another. That's a 1986 Honda VF500F "baby" Interceptor I bought on ebay from a guy in Georgia. You can see the red seat hanging on the wall just above it and the blue/white/red tank on the far right of the pic. I have everything except the nose piece.
It's a project I was going to do for my son when he reached 16 so he would have a cheap but fun bike to learn on. Then he hit a growing spurt. He's 19 now and at 6'3" and 330lbs he's a little big for it.
I'll have to do it for myself or just sell it as a basket case. Haven't decided that one yet.